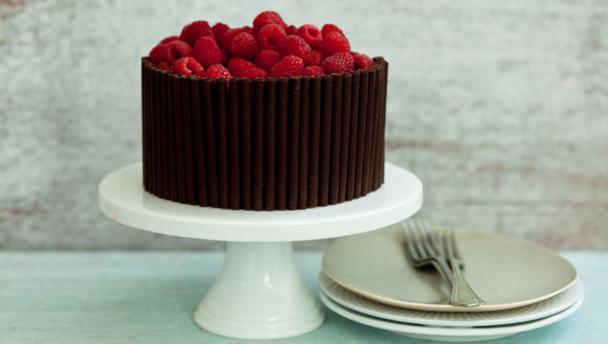
This cake is dramatic, delicious and versatile: decorate with fresh flowers for a christening or wedding cake, top with strawberries or raspberries for something girly, or add quartered figs for a Father’s day cake.
Equipment and preparation: You will need a 20cm/8in round deep cake tin and a 20cm/8in cake board.
Preheat the oven to 180/C/350F/Gas 4 and line a 20cm/8in round deep cake tin with baking paper and brush or spray with oil.
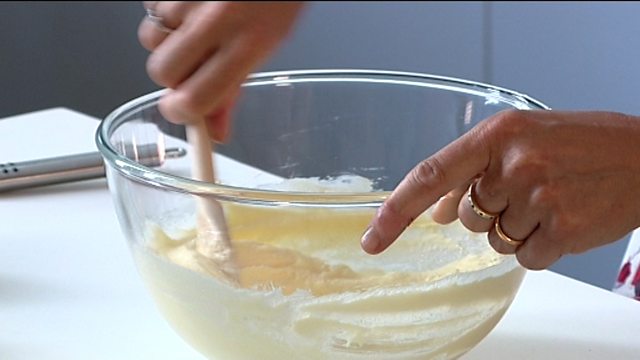
Cream together the butter and sugar in a large bowl until they begin to go pale. Add half of the eggs and half of the flour and mix well. Add the rest of the eggs, flour, cocoa powder, salt and baking powder and beat for a minute or two until the mixture is uniform. Dollop into the prepared tin and bake in the oven for about 30–40 minutes, or until a skewer inserted in the middle comes out clean. Leave to cool in the tin.
Meanwhile, make the buttercream: put the butter and icing sugar in a bowl and whisk together until the mixture goes fluffy. Add the cooled, melted chocolate and whisk for a further two minutes.
Once the cake is completely cool, remove it from the tin. Carefully cut the top flat with a large serrated knife. (Eat this bit as a chef’s perk!)
Turn the cake upside down on a 20cm/8in cake board so that the bottom now becomes a nice flat top. Split the cake horizontally and sandwich the top and bottom together with a 1cm/½in layer of buttercream.
Spread half of the remaining buttercream all over the top and sides of the cake, making it as smooth as possible. Put it in the fridge to set before doing another layer - this makes it much easier to get neat squared-off edges.
Gently push the cigarillos vertically onto the sides of the cake, positioning them as straight as possible and making sure they touch the bottom.
The next step is up to you - I can’t tell you the wide-eyed looks you’ll get when you walk into a room holding this finished cake. Serve with a self-satisfied grin.
This cake is made with chocolate cigarillos, which can be bought easily on the internet. But should you need to make the cake straightaway, use chocolate fingers, chocolate flake bars, or even matchmakers around the edge.